Stage Micrometers & Grids S-Series
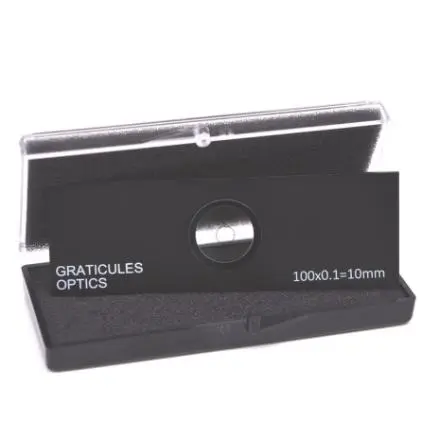
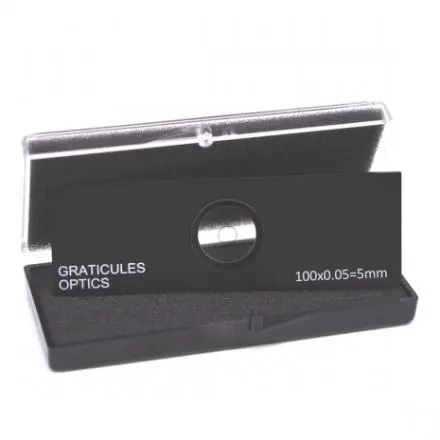
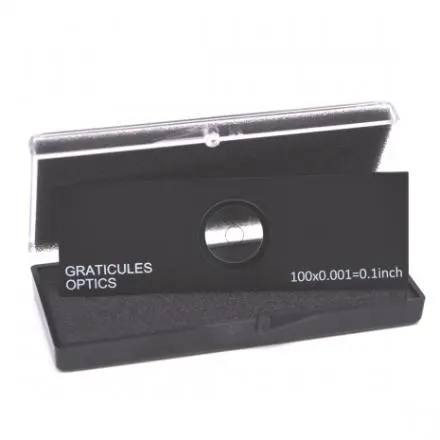
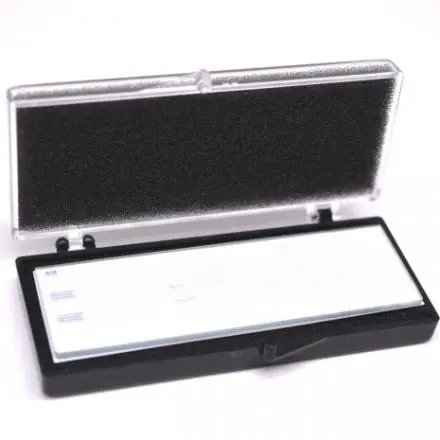
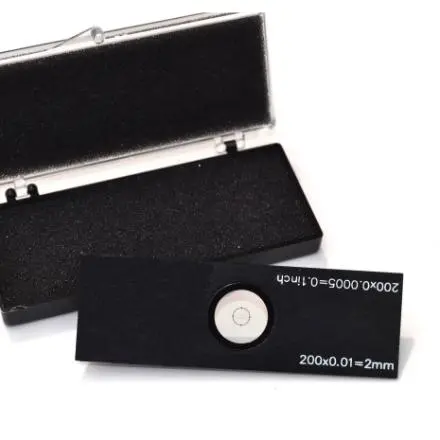
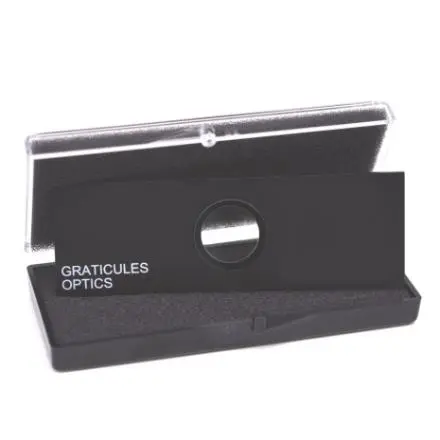
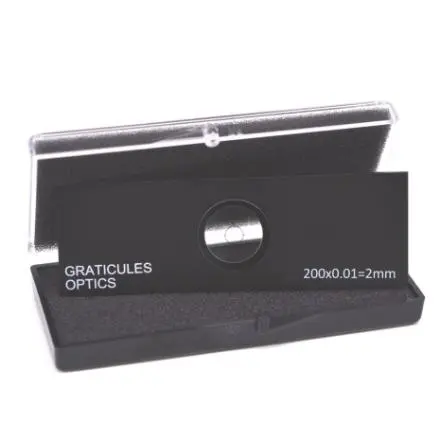
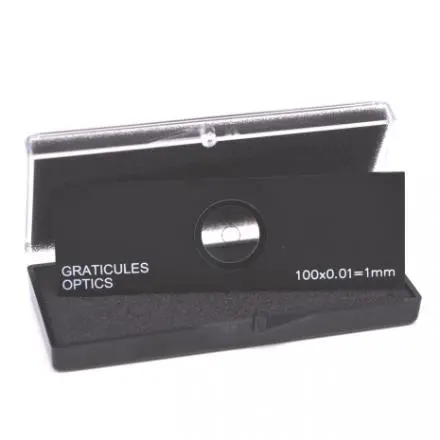
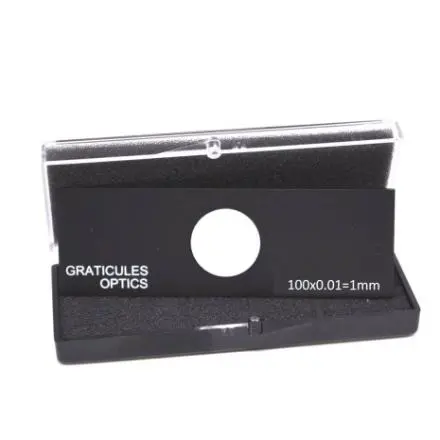
The scale or grid is chrome deposited centrally on a glass disc mounted in a black anodised aluminium slide mount 76mm x 25mm x 1.5mm thick. The metal mount gives these stage micrometers greater durability than those of all glass construction. These products are supplied in a plastic case with foam insert.
Available in transmitted and reflected (incident) light versions. All transmitted light stage micrometers, except the s48 and s18, have a no.0 cover glass optically cemented over the image.
This range of stage micrometers do not have unique serial numbers, so technically are not traceable. Many quality inspectors require any calibration tools to have unequivocal traceability, so a stamped or engraved serial number, for this we have our ps range of calibration scales.
STAGE MICROMETER : S1,S2,S4 ,S8, S11, S12, S16, S22, S48
STAGE COUNTING GRID : S9,S10,S28 ,S29
STAGE MICROMETER GROUPED GRADUATIONS : S21
HSE/NPL MK III TEST SLIDE : S84
VIBRATION TEST SLIDE : S25
METRIC/IMPERIAL : S18,S20
REFLECTED LIGHT STAGE MICROMETER : S1R,S4R,S78
HALTON FINDER SLIDE : S30
ENGLAND FINDER SLIDE : S7
PARTICLE ANALYSIS TEST/CALIBRATION SLIDE : SG7
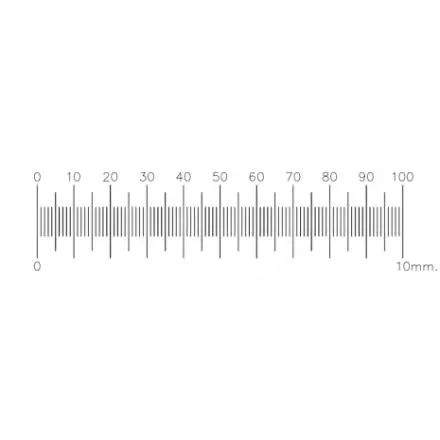
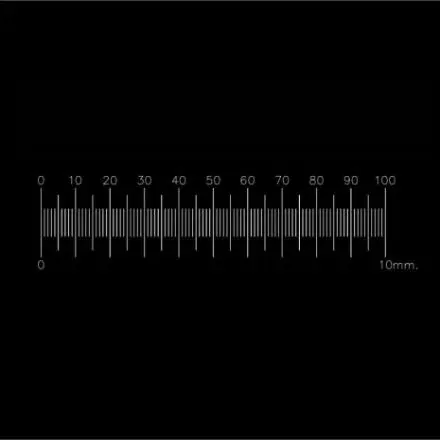
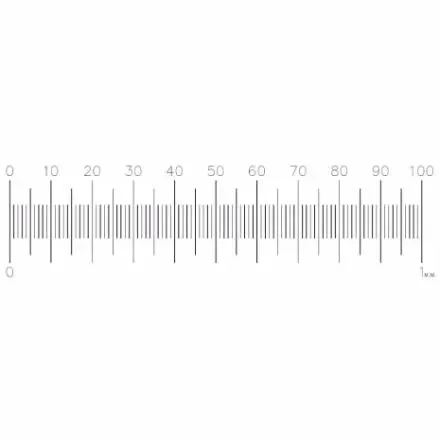
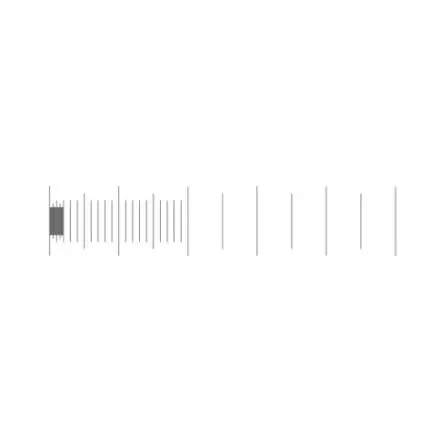
S1 STAGE MICROMETER, 10MM/0.1MM
Key Features
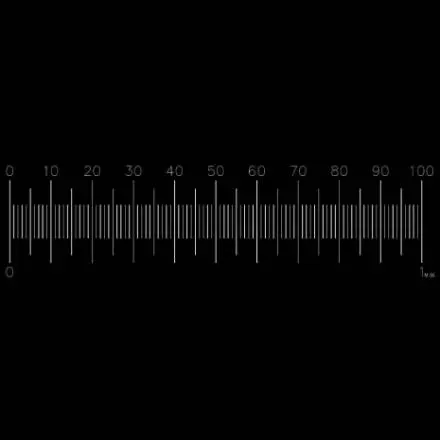
Transmitted light stage micrometer with 10mm scale subdivided into 0.1mm divisions
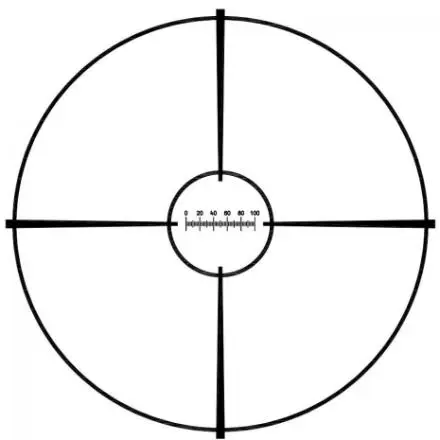
These stage reticles are intended for the routine calibration of eyepiece patterns, particularly when alternating between objectives on one microscope or when using the same reticle in different microscopes. Their robust construction makes them ideal for student use and for instructional purposes. The scale or grid is centred on a glass disc mounted in a black anodised aluminium slide 76mm x25mm x 1.5mm thick.
Line width: 0.005mm
Accuracy (overall): <0.002mm
Pattern
|
Description
|
Order code
|
S1
|
Micrometer Scale 10mm in 0.1mm divisions
|
02A00400
|
|
S1 with Graticules certificate
|
02A00400/GRA
|
|
S1 with UKAS certificate
|
02A00400/UKA
|
|
S1 with NPL certificate
|
02A00400/NPL
|
S10 STAGE COUNTING GRID, 0.05MM SQUARES
Key Features
Transmitted light stage slide with 10 x 10 grid of 0.05mm squares
Line width: 0.004mm
Accuracy (overall): <0.0015mm
Pattern
|
Description
|
Order code
|
S10
|
Counting Slide 0.05mm Squares
|
02A00406
|
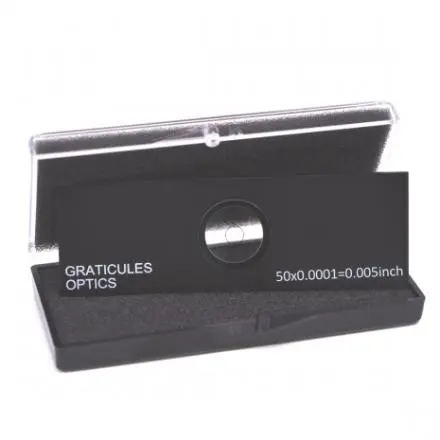
S11 STAGE MICROMETER, 0.005INCH/0.0001INCH
Key Features
Transmitted light stage micrometer with 0.005″ scale subdivided into 0.0001″ divisions
These stage reticles are intended for the routine calibration of eyepiece patterns, particularly when alternating between objectives on one microscope or when using the same reticle in different microscopes. Their robust construction makes them ideal for student use and for instructional purposes. The scale or grid is centred on a glass disc mounted in a black anodised aluminium slide 76mm x 25mm x 1.5mm thick.
Line width: 0.001mm
Accuracy (overall): <0.00005"
Pattern
|
Description
|
Order code
|
S11
|
Micrometer Scale 0.005inch in 0.0001inch divisions
|
02A00407
|
|
S11 with Graticules certificate
|
02A00407/GRA
|
|
S11 with UKAS certificate
|
02A00407/UKA
|
|
S11 with NPL certificate
|
02A00407/NPL
|
S12 STAGE MICROMETER, 0.1MM/0.002MM
Key Features
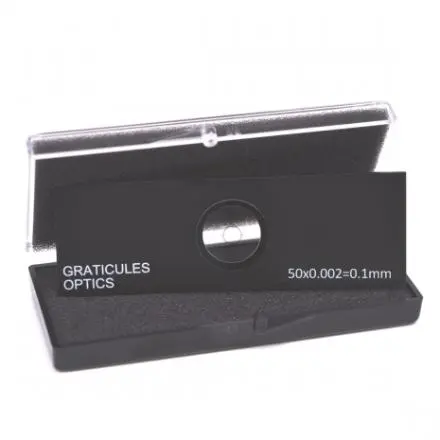
Transmitted light stage micrometer with 0.1mm scale subdivided into 0.002mm divisions
These stage reticles are intended for the routine calibration of eyepiece patterns, particularly when alternating between objectives on one microscope or when using the same reticle in different microscopes. Their robust construction makes them ideal for student use and for instructional purposes. The scale or grid is centred on a glass disc mounted in a black anodised aluminium slide 76mm x25mm x 1.5mm thick.
Line width: 0.001mm
Accuracy (overall): <0.001mm
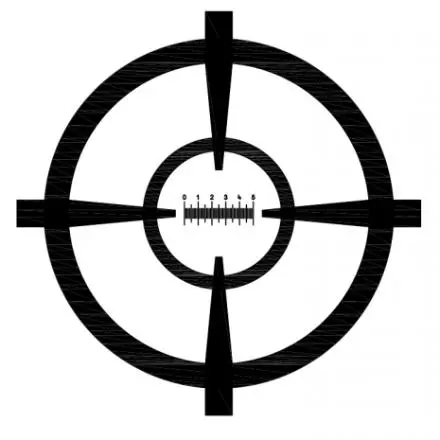
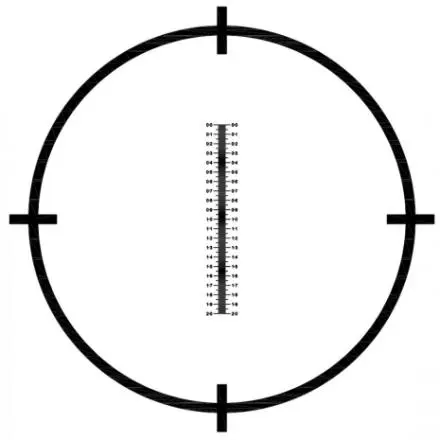
Image of product showing locating ring with cross and enlarged central scale detail.
Pattern
|
Description
|
Order code
|
S12
|
Micrometer Scale 0.1mm in 0.002mm division
|
02A00408
|
|
S12 with Graticules certificate
|
02A00408/GRA
|
|
S12 with UKAS certificate
|
02A00408/UKA
|
|
S12 with NPL certificate
|
02A00408/NPL
|
S16 STAGE MICROMETER, CROSSED SCALES 1MM/0.01MM
Key Features
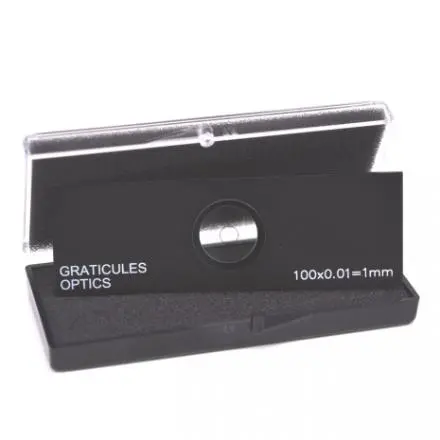
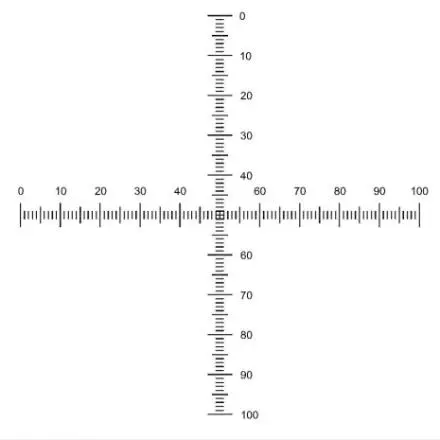
Transmitted light stage micrometer with crossed scales, each 1mm subdivided into 0.01mm divisions
These stage reticles are intended for the routine calibration of eyepiece patterns, particularly when alternating between objectives on one microscope or when using the same reticle in different microscopes. Their robust construction makes them ideal for student use and for instructional purposes. The scale or grid is centred on a glass disc mounted in a black anodised aluminium slide 76mm x25mm x 1.5mm thick.
Line width: 0.0015mm
Accuracy (overall): <0.001mm
Pattern
|
Description
|
Order code
|
S16
|
Crossed Micrometer Scales 1mm in 0.01mmdivisions.
|
02A00429
|
|
S16 with Graticules certificate
|
02A00429/GRA
|
|
S16 with UKAS certificate
|
02A00429/UKA
|
|
S16 with NPL certificate
|
02A00429/NPL
|
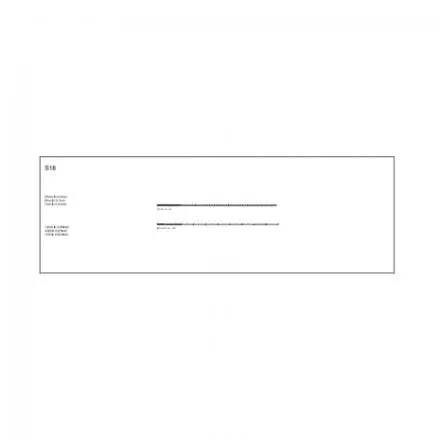
S18 GRADUATED DOUBLE MICROMETER METRIC/IMPERIAL 25MM & 1 INCH
Key Features
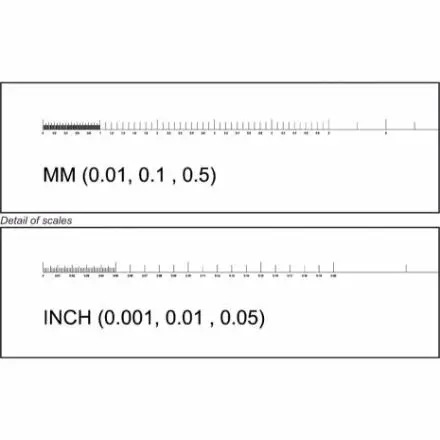
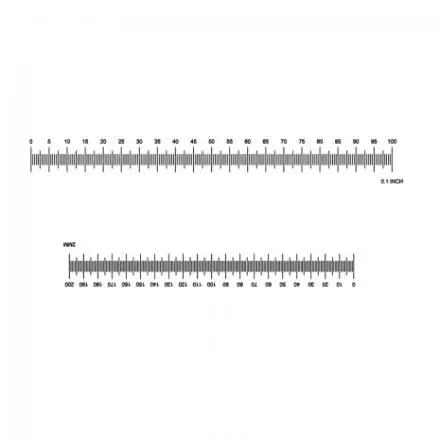
Graduated Double Scale 25mm and 1 inch Micrometer
Metric & Imperial stage micrometer with double graduated scale
For the calibration of measurement instruments across a wide range of magnifications
This graduated scale stage micrometer is suitable for low magnification, stereo inspection microscopes to higher magnification compound microscopes.
The double scale (metric & English), extends this flexibility further, suiting Quality Control Departments that serve all international markets
The mm and inch scales are centred on all glass slide 76mm x 25mm x 1.5mm thick.
Line width: 0.0025mm
Accuracy (overall): 0.002mm
Pattern
|
Description
|
Order code
|
S18
|
Graduated Double Micrometer Scale
25mm/0.5mm; 5mm/0.1mm; 1mm/0.01mm
1"/0.05"; 4/20" in 0.01"; 1/20 in 0.001"
|
02A00418
|
|
S18 with Graticules certificate
|
02A00418/GRA
|
|
S18 with UKAS certificate
|
02A00418/UKA
|
|
S18 with NPL certificate
|
02A00418/NPL
|
S1R REFLECTED LIGHT STAGE MICROMETER, 10MM/0.1MM
Key Features
Reflected light stage micrometer with 10mm scale subdivided into 0.1mm divisions
Line width: 0.005mm
Accuracy (overall): <0.002mm
Pattern
|
Description
|
Order code
|
S1R
|
Micrometer Scale 10mm in 0.1mm divisions for reflected light
|
02A00440
|
|
S1R with Graticules certificate
|
02A00440/GRA
|
|
S1R with UKAS certificate
|
02A00440/UKA
|
|
S1R with NPL certificate
|
02A00440/NPL
|
S2 STAGE MICROMETER, 5MM/0.05MM
Key Features
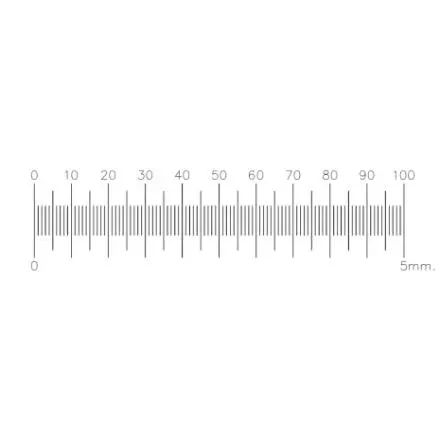
Transmitted light stage micrometer with 5mm scale subdivided into 0.05mm
These stage reticles are intended for the routine calibration of eyepiece patterns, particularly when alternating between objectives on one microscope or when using the same reticle in different microscopes. Their robust construction makes them ideal for student use and for instructional purposes. The scale or grid is centred on a glass disc mounted in a black anodised aluminium slide 76mm x25mm x 1.5mm thick.
Line width: 0.005mm
Accuracy (overall): <0.0015mm
Pattern
|
Description
|
Order code
|
S2
|
Micrometer Scale 5mm in 0.05mm divisions
|
02A00401
|
|
S2 with Graticules certificate
|
02A00401/GRA
|
|
S2 with UKAS certificate
|
02A00401/UKA
|
|
S2 with NPL certificate
|
02A00401/NPL
|
S20 STAGE MICROMETER, METRIC/IMPERIAL 2MM/0.01MM, 0.1INCH/0.0005INCH
Key Features
Transmitted light stage micrometer with double scale 2mm scale subdivided into 0.01mm divisions and 0.1inch subdivided into 0.0005inch divisions
These stage reticles are intended for the routine calibration of eyepiece patterns, particularly when alternating between objectives on one microscope or when using the same reticle in different microscopes. Their robust construction makes them ideal for student use and for instructional purposes. The scale or grid is centred on a glass disc mounted in a black anodised aluminium slide 76mm x 25mm x 1.5mm thick.
Line width: 0.002mm (+0.001mm)
Accuracy (overall): <0.0015mm
Pattern
|
Description
|
Order code
|
S20
|
Double Micrometer Scale 2mm/0.01mm &0.1inch/0.0005inch div
|
02A00409
|
|
S20 with Graticules certificate
|
02A00409/GRA
|
|
S20 with UKAS certificate
|
02A00409/UKA
|
|
S20 with NPL certificate
|
02A00409/NPL
|
S21 STAGE MICROMETER GROUPED GRADUATIONS, 5MM/0.5MM, 2MM/0.1MM, 0.2MM/0.01MM
Key Features
Transmitted light stage micrometer with grouped graduations 5mm total length in 0.5mm divisions, 2mm section is further divided into 0.1mm divisions and final 0.2mm has 0.01mm divisions
These stage reticles are intended for the routine calibration of eyepiece patterns, particularly when alternating between objectives on one microscope or when using the same reticle in different microscopes. Their robust construction makes them ideal for student use and for instructional purposes. The scale or grid is centred on a glass disc mounted in a black anodised aluminium slide 76mm x25mm x 1.5mm thick.
Line width: 0.0025mm
Accuracy (overall): <0.002mm
Pattern
|
Description
|
Order code
|
S21
|
Micrometer Scale 5mm/0.5mm, 2mm/0.1mm,0.2mm/0.01mm
|
02A00410
|
|
S21 with Graticules certificate
|
02A00410/GRA
|
|
S21 with UKAS certificate
|
02A00410/UKA
|
|
S21 with NPL certificate
|
02A00410/NPL
|
S22 STAGE MICROMETER, VERTICAL 2MM/0.01MM
Key Features
Transmitted light stage micrometer with vertical 2mm scale subdivided into 0.01mm divisions
These stage reticles are intended for the routine calibration of eyepiece patterns, particularly when alternating between objectives on one microscope or when using the same reticle in different microscopes. Their robust construction makes them ideal for student use and for instructional purposes. The scale or grid is centred on a glass disc mounted in a black anodised aluminium slide 76mm x 25mm x 1.5mm thick.
Line width: 0.0025mm
Accuracy (overall): <0.0015mm
Pattern
|
Description
|
Order code
|
S22
|
Micrometer Scale 2mm in 0.01mm divisions
|
02A00411
|
|
S22 with Graticules certificate
|
02A00411/GRA
|
|
S22 with UKAS certificate
|
02A00411/UKA
|
|
S22 with NPL certificate
|
02A00411/NPL
|
S25 VIBRATION TEST SLIDE (FOE PPL DOT PATTERN)
Key Features
Pairs of dots of decreasing separation which appear to merge during vibration tests
Pattern
|
Description
|
Order code
|
S25
|
Foepple Dot Vibration Test Pattern
|
02A00412
|
S28 STAGE COUNTING GRID, 0.01MM SQUARES
Key Features
Transmitted light stage slide with 20 x 20 grid of 0.01mm squares
These stage reticles are intended for the routine calibration of eyepiece patterns, particularly when alternating between objectives on one microscope or when using the same reticle in different microscopes. Their robust construction makes them ideal for student use and for instructional purposes. The scale or grid is centred on a glass disc mounted in a black anodised aluminium slide 76mm x25mm x 1.5mm thick.
Line width: 0.003mm
Accuracy (overall): <0.0015mm
Pattern
|
Description
|
Order code
|
S28
|
0.01mm grid / 0.2 x 0.2mm overall
|
02B00428
|
S29 STAGE COUNTING GRID, 0.01MM SQUARES
Key Features
Transmitted light stage slide with 1.5mm x 1.5mm grid of 0.01mm squares
Line width: 0.003mm
Accuracy (overall): <0.0015mm
Pattern
|
Description
|
Order code
|
S29
|
0.01mm grid / 1.5m x 1.5mm overall
|
02B00429
|
Key Features
Identical pattern to the S7 England Finder but with a smaller area of 5mm x 5mm
Pattern
|
Description
|
Order code
|
S30
|
Halton Finder
|
02A00413
|
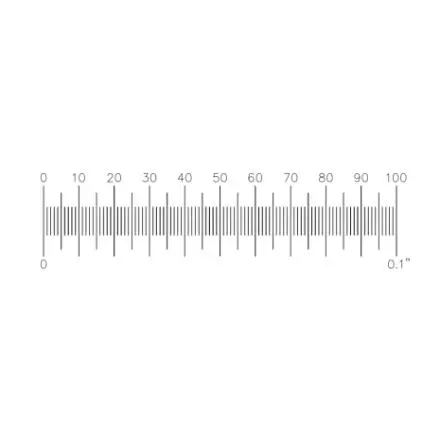
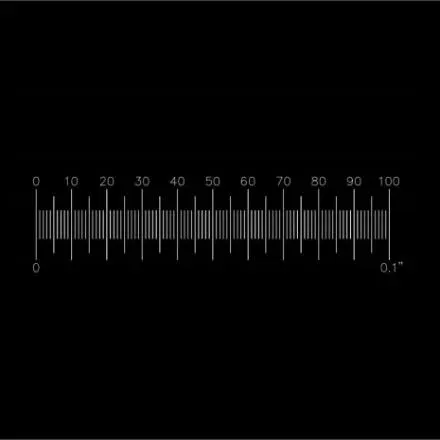
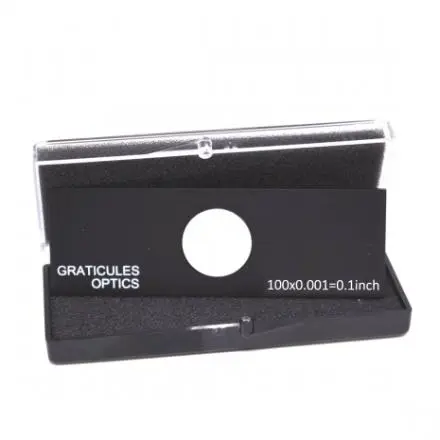
S4 STAGE MICROMETER, 0.1INCH/0.001INCH
Key Features
Transmitted light stage micrometer with 0.1″ scale subdivided into 0.001″ divisions
These stage reticles are intended for the routine calibration of eyepiece patterns, particularly when alternating between objectives on one microscope or when using the same reticle in different microscopes. Their robust construction makes them ideal for student use and for instructional purposes. The scale or grid is centred on a glass disc mounted in a black anodised aluminium slide 76mm x25mm x 1.5mm thick.
Line width: 0.002mm
Accuracy (overall): <0.0001"
Pattern
|
Description
|
Order code
|
S4
|
Micrometer Scale 0.1inch in 0.001inch divisions
|
02A00402
|
|
S4 with Graticules certificate
|
02A00402/GRA
|
|
S4 with UKAS certificate
|
02A00402/UKA
|
|
S4 with NPL certificate
|
02A00402/NPL
|
S48 STAGE MICROMETER WITHOUT COVER GLASS 1MM/0.01MM
Key Features
Transmitted light stage micrometer with 1mm scale subdivided into 0.01mm divisions, no cover glass fitted
These stage reticles are intended for the routine calibration of eyepiece patterns, particularly when alternating between objectives on one microscope or when using the same reticle in different microscopes. Their robust construction makes them ideal for student use and for instructional purposes. The scale or grid is centred on a glass disc mounted in a black anodised aluminium slide 76mm x 25mm x 1.5mm thick.
Line width: 0.0027mm
Accuracy (overall): <0.0015mm
Pattern
|
Description
|
Order code
|
S48
|
Micrometer Scale 1mm/0.01mm Divisions without coverglass.
|
02A00414
|
|
S48 with Graticules certificate
|
02A00414/GRA
|
|
S48 with UKAS certificate
|
02A00414/UKA
|
|
S48 with NPL certificate
|
02A00414/NPL
|
S4R REFLECTED LIGHT STAGE MICROMETER, 0.1INCH/0.001INCH
Key Features
Reflected light stage micrometer with 0.1″ scale subdivided into 0.001″ divisions
Line width: 0.002mm
Accuracy (overall): <0.0001"
Pattern
|
Description
|
Order code
|
S4R-NEW
|
Micrometer Scale 0.1inch in 0.001inch divisions for reflected light
|
02A00442
|
|
S4R with Graticules certificate
|
02A00442/GRA
|
|
S4R with UKAS certificate
|
02A00442/UKA
|
|
S4R with NPL certificate
|
02A00442/NPL
|
Key Features
Unique slide for recording the position of areas of interest. 9045 findable locations, each uniquely indexed.
The England Finder is a glass microscope slide with a uniquely indexed grid pattern that allows individual areas of interest to be referenced.
All England Finders produced by Pyser-Optics over the last 40 years are identical. The purpose of the slide is to give microscopists an easy method of recording the position of a particular area of interest, so that the same position can be re-located at a later date, or by another person in another laboratory, or when using an England Finder in another microscope.
Pattern
|
Description
|
Order code
|
S7
|
England Finder
|
02A00403
|
The location of the positioning arrows is identical for all England Finder slides. The method of use is as follows: Mark a label on the left hand side of the specimen slide, indicating the orientation to be repeated. Locate any area of interest on the slide then, without moving the stage, replace the specimen slide with the England Finder, the feature of interest can then be identified and noted from the index pattern. The area of interest can then be relocated at any time using the reverse of this procedure.
S78 REFLECTED LIGHT STAGE MICROMETER, 1MM/0.01MM
Key Features
NEW HIGH DEFINITION VERSION
Reflected light stage micrometer with 1mm scale subdivided into 0.01mm divisions
The S78 has a new high definition image to improve calibration resolution and allow line centre or line edge calibrations.
Line width: 0.002mm (+0.001mm)
Accuracy (overall): <0.001mm
Pattern
|
Description
|
Order code
|
S78
|
Micrometer Scale 1mm Scale in 0.01mm Divisions (for reflected light)
|
02A00421
|
|
S78 with Graticules certificate
|
02A00421/GRA
|
|
S78 with UKAS certificate
|
02A00421/UKA
|
|
S78 with NPL certificate
|
02A00421/NPL
|
S8 STAGE MICROMETER, 1MM/0.01MM
Key Features
Transmitted light stage micrometer with 1mm scale subdivided into 0.01mm divisions
These stage reticles are intended for the routine calibration of eyepiece patterns, particularly when alternating between objectives on one microscope or when using the same reticle in different microscopes. Their robust construction makes them ideal for student use and for instructional purposes. The scale or grid is centred on a glass disc mounted in a black anodised aluminium slide 76mm x25mm x 1.5mm thick.
Line width: 0.002mm
Accuracy (overall): <0.001mm
Pattern
|
Description
|
Order code
|
S8
|
Micrometer Scale 1mm in 0.01mm divisions
|
02A00404
|
|
S8 with Graticules certificate
|
02A00404/GRA
|
|
S8 with UKAS certificate
|
02A00404/UKA
|
|
S8 with NPL certificate
|
02A00404/NPL
|
S84 HSE/NPL MK III TEST SLIDE
Key Features
Phase contrast test slide for checking resolution of microscopes used for asbestos analysis. Fully certified
This test slide is made in the UK under license from the National Physical Laboratory. The purpose of the slide is to provide a standard means to check the performance of phase microscopes prior to the analysis of asbestos. The pattern consists of seven bands of twenty lines with widths ranging from 0.25 microns to 1.1 microns. This slide is the band 5 version where microscopes need to be able to fully view band 5 and partially view band 6.
Each slide is fully tested and approved by the Health & Safety Laboratory, and issued with a certificate.
S84
|
HSE/NPL Test Slide for Phase Contrast Calibration in Asbestos Analysis
|
02F00490
|
|
HSE recommend that the S84 is re-tested every 3 years.
|
|
S9 STAGE COUNTING GRID, 0.1MM SQUARES
Key Features
Transmitted light stage slide with 10 x 10 grid of 0.1mm squares
Line width: 0.005mm
Accuracy (overall): <0.0015mm
Pattern
|
Description
|
Order code
|
S9
|
Counting Slide 0.1mm Squares
|
02A00405
|
SG7 PARTICLE ANALYSIS TEST/CALIBRATION SLIDE
Key Features
Microscope slide with 200 particles of various shapes and sizes.
Each of the 200 shapes is numbered so that comparison can be done with particles in the specimen, and the details logged and communicated. Is also a useful tool for calibration and operator training. The particle sizes range from 1197um2 to 42308um2.
For pattern size details click here.
Now available with Type Test report that gives size and area information of all 200 particle shapes, contact This email address is being protected from spambots. You need JavaScript enabled to view it. for more information.
Pattern
|
Description
|
Order code
|
SG7
|
Test slide for particle sizing
|
02A00422
|
Pyser-Optics have facilities to manufacture random and regular patterns for the calibration of particle sizing and counting systems. Typically these may comprise regular shaped features of different sizes so that the imaging software has known reference sizes to set it's calibration. Alternatively, they may have a field area populated with 'random' shaped and sized features. Contact us with your requirements.